Pregame!
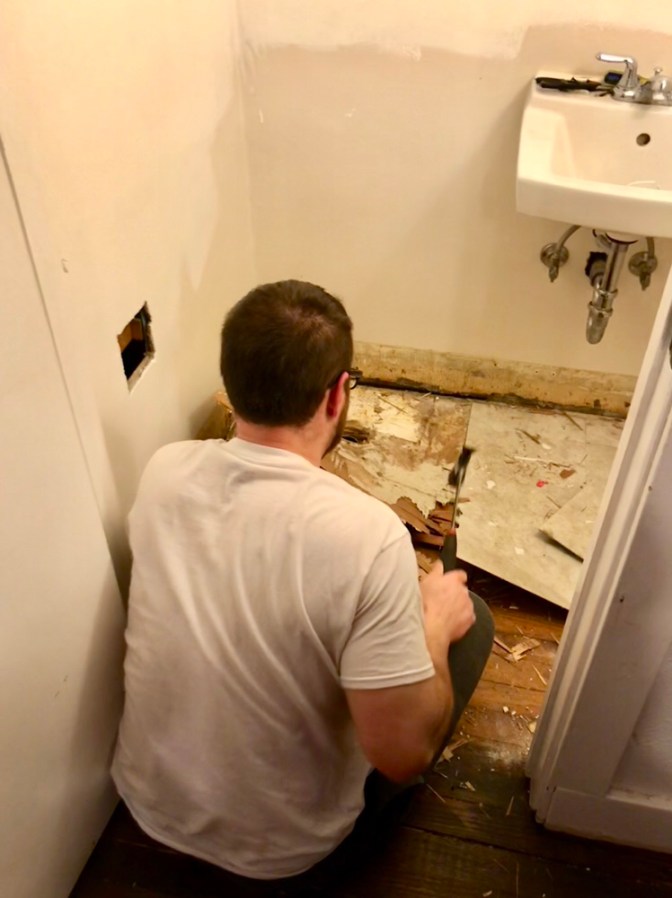
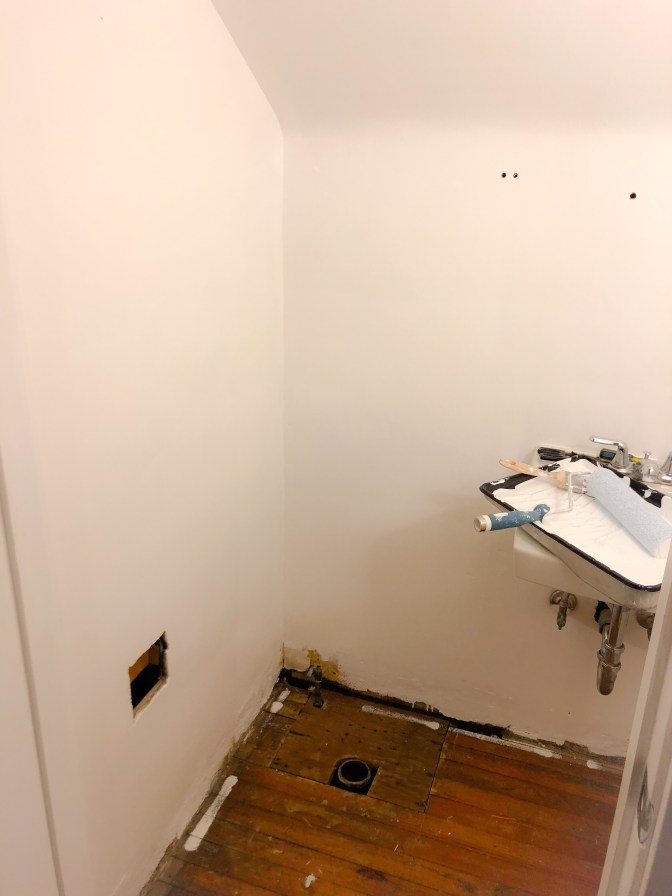
Get your #demoday on and rip up the existing flooring. You’ll likely want to remove the trim as well.
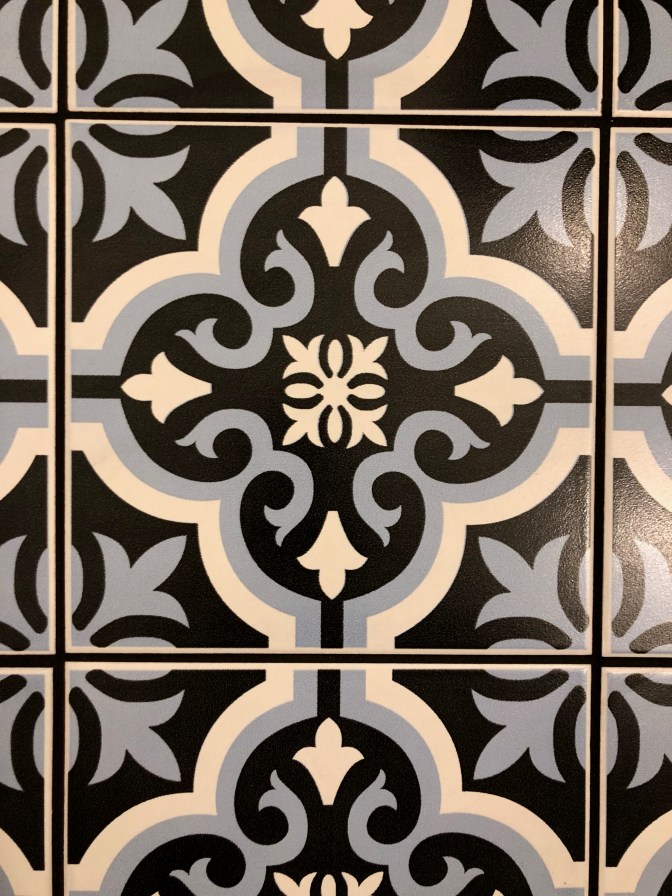
Come up with a tile plan. What do you want your design to look like?
Step 1: Lay the Backer Board
Backer board usually comes in 1/4″ and 1/2″ thickness. Here’s where your math skills will come into play. You’ll need to know how thick your tile is and how much clearance you’ll have to open the door.
The normal rule of thumb is if you’re laying tile over an existing subfloor, you’ll probably only need the 1/4″. If it’s a new build and you’re attaching straight to the floor joists, opt for 1/2″. That being said, we used 1/2″ because we had the clearance. It’s only going to make everything more durable.

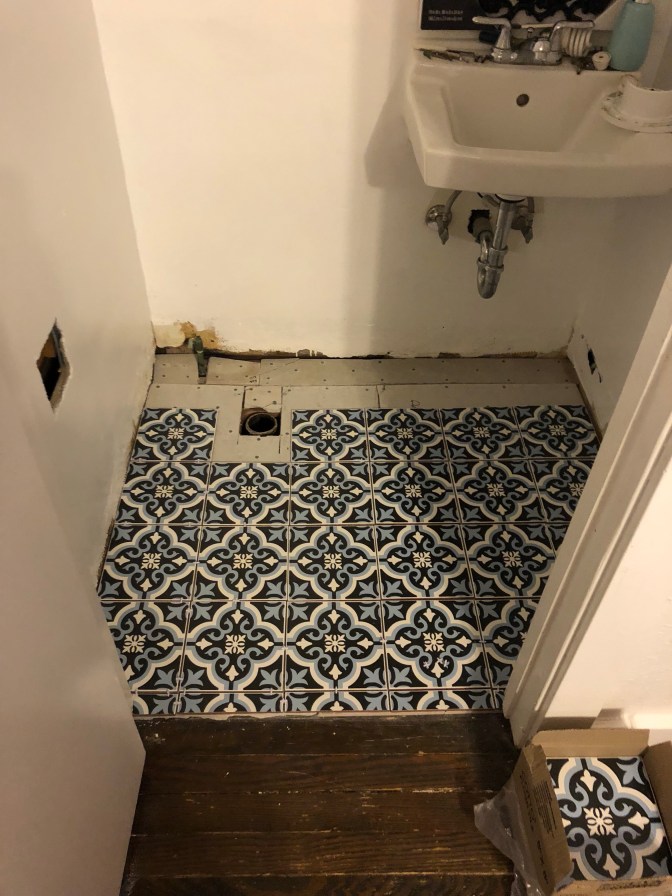
Step 2: Dry Lay the Tile
Here’s where you’re going to test your design. Using tile spacers, begin to lay the tile just like you would if it was going in forever. Start at the center of the room and work your way out. In this half bath, we lucked out because the room called for exactly six full tiles across. However, the length required cuts.
Because this was a fairly simple job, we used a tile cutter instead of a wet saw.

[Below is an affiliate link. See my Disclosure for more details.]
The tile cutter we used is the Blue Hawk 14-in snap cutter from Lowe’s. As long as you don’t have any fancy cuts to make, it’ll do the job. Josh said it worked just as he expected it to, although he did break some tiles along the way.
Step 3: Mix the Thin-set
Thin-set is the mortar you’ll use to attach your tile to the backer board. You’ll want to have a 5-gallon bucket and you’ll need to have a mixing paddle for your drill. Be sure to read the instructions on your thin-set. Most need to stand about 10 minutes before application.

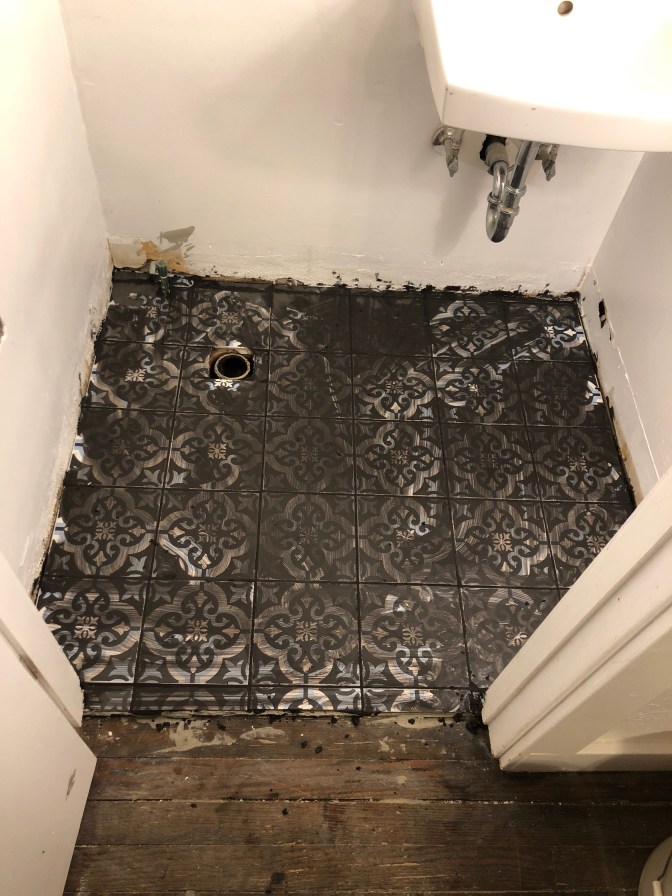
Step 4: Apply the Thin-set
Using your trowel, apply a good amount of thin-set to the floor. As you spread the thin-set, be sure to fill all the cracks and holes first so that your floor will be level. Be sure to test one tile before applying to the whole floor to make sure you have the right consistency.
To see video examples, head to my Instagram @birchtreescoffeebeans and check out my stories.

Once it’s right, apply to the entire floor using the notched side of your trowel to create comb marks. Have your comb marks all going in one direction to ensure the tile attaches properly. DO NOT remove the tile spacers during this step.
WAIT 24-48 HOURS BEFORE MOVING ON TO STEP 5.

Step 5: Time to Grout!
Now it’s time to remove those tile spacers. Just like the thin-set, mix the grout according to instructions using a drill with mixing paddle. Allow it to sit for about 10 minutes before starting to apply.

Begin spreading the grout across the tile in a sweeping motion. Apply at a 45-degree angle so that the grout gets into the spaces between the tile without overfilling or causing the tiles to move. Once the grout is spread, remove any excess from the tiles and allow the grout to set- usually in about 10 minutes or so it’ll have a thicker consistency.
Step 6: Sponge Clean the Tile
As soon as you complete step 5, you’ll want to grab a damp sponge and start to wipe the tile clean of grout. The longer the grout sits, the harder it’s going to be to get off the tile, so don’t wait! As you’re sponge cleaning the tile, be sure to change the water in your bucket often or it will leave residue behind.
Once it’s nice and clean like below, allow the grout to dry for 24 hours before walking on the tile.

…And voila!
Walk, dance, admire your tile. The job is done! Enjoy!
Again, you can see this in motion by watching the “stories” on my Instagram account: @birchtreescoffeebeans

2 thoughts on “How to Lay Ceramic Tile”